Ever thought of building a white-label online school platform with your own app? If so, it’s a good idea to do that, as this one thing can help your academic business.
The online learning platforms market is projected to reach 995.9 million users by 2029. So, it’s a big market to get the best ROI.
However, making good use of this benefit is hard without a white-label online school, especially if you offer courses, tuition, and other academic products.
In that case, one way to make that possible is to use your own app. And, that’s what we’ll break down in this guide. Let’s just get started with this!
White Label Online School Platforms Explained

In simple terms, white-label means you are using a ready-made system that a platform offers, but you can brand it as your own. For that, you can add your logo, name, icon, colors, and so on. And, when this same thing is done in an online school, it is called a white-label online school.
Since the process of making an online school site or app form is hard, you should choose an online school platform that helps you create an online school easily.
With some course platforms like EzyCourse, you can get:
Custom branding and customization options to design in your own way to show your online school.
Compatibility with different devices like mobile phones, tablet PC, laptops, and so on, in both iOS and Android forms.
Hosting options to go for live videos, events, and webinars with no hassle.
Integrate with the tools given by the platform to improve the online school's gamification.
Easy payment integration option to accept payment on PayPal, Stripe, credit/debit card, and so on.
Quizzes, trackers, SCORMs, profiles, chat, and so on.
Course creation, progress insights, and other helpful LMS options.
Security and data privacy to protect the details of learners, along with your options.
How to Build a White Label Online School Platform with Your Own App
In this section, you’ll learn the crystal-clear process of how to build a white-label online school platform with your own app from A to Z. Here we go:
1. Pick a Proper Platform with Mobile App Builder
If you want to create your own white-label online school with your own app, pick the right platform. Before you begin, just be certain to go for a platform that lets you make the app.
So, what are the aspects that you need to consider to pick the right platform to make a white label online school with the app?
White Label Options: The platform should let you fully use your own brand name, logo, and colors. Plus, be sure there’s no sign of the platform’s name should appear in your school or app.
Easy App Builder: It should offer a simple way to create your app, even if you don’t know anything about coding. Drag-and-drop tools are also a big bonus.
Customization Tools: You should be able to easily change the design, layout, fonts, and colors to match your brand style.
Push Notifications: You should be able to send quick messages to your students through the app to keep them updated and interested.
Course Management: The platform should make it easy to create and organize your courses, quizzes, certificates, and other content.
Payment Integration: It should allow you to add payment options like PayPal, Stripe, or local banks so students can buy your courses.
User Management: You should be able to see and manage your students easily. Like, it should offer options to check their progress, memberships, and access to different courses.
Analytics and Reports: You need to get simple reports that show how your students are learning and using the app. This also helps you improve your online platform over time.
Good Support and Updates: The platform should offer fast customer support and regular updates to keep everything running smoothly.
EzyCourse is an all-in-one platform that lets you create an online school in no time. With the selected plans, you can get a free white-label mobile app, and so on.
2. Set Up Your Own Mobile App

If you are using an e-learning platform, you’ll be happy to know that many of them offer the option to create a white-label online school with a mobile app.
This also means you can have your own app that connects to your existing school site. Setting up your app is simple. The process includes:
To begin with, log in to your school admin account.
On the dashboard, find and click on the Mobile App tab.
Then, select App Settings to start building and customizing your app.
Here you will find different tabs to change how your app looks and works:
Name and Icon
In the name and icon tab, you can give your app a name and upload your own app icon. Your icon should also have a colorful background and be exactly 1024 x 1024 pixels. Just be sure to pick a simple name using only English characters.
Do not use symbols like @, #, $, etc, as this makes the layout look weird. You can also see a live preview of how your app icon will look on Android and iOS phones.
Splash Screen
The splash screen is the first thing users will see when they open your app. You can use these:
Upload a banner and pick a nice background color.
Make sure your image is at least 500 x 500 pixels.
Try to keep the splash screen bright and welcoming, using your school’s branding.
Sign In / Sign Up Screen
On this screen, you can add your online school’s logo above the login fields. Again, your logo should be at least 500 x 500 pixels. This also gives a professional touch when users are signing into your app.
Learner Tools
Turn on learning reminders to help them stay on track.
Allow students to download videos to watch offline.
Let learners save their favorite courses for quick access later.
Integrations
The Integrations tab lets you connect important tools to set up the mobile app properly. So, make sure to use them to integrate and make the app look better.
Test Your App
After you finish setting everything up, it’s important to test your app. Check if everything looks good, works smoothly, and feels easy for your students to use. Once you are happy with it, you can move forward with launching it on app stores!
Note: EzyCourse has a dedictaed mobile app team that will proivde you with a branded mobile app. All you need to do is, just send your details, they will do the hardwork for you!

3. Customize App Design

With the chosen platform’s mobile app builder, you can easily personalize how your app looks and feels. You also have full control over the design to match your style, brand, or school perfectly.
Here’s how you can customize your app:
You can pick a theme that sets the overall style of your app. Then, try to adjust the color palette to match your brand colors.
Customize the different mobile screens of your app by adding Sections and Widgets. This also lets you control what content appears and how it is shown.
Edit beautiful onboarding screens to welcome new users and introduce them to your app’s features. This also helps learners to know the app quickly and have a smooth first experience.
Modify every page of your app to match your school's identity, branding, or any special requirements you have. This also makes your app feel truly personal and professional.
Customize the navigation bar on the menu and the top bar on the header. This also makes it easier for learners to find what they need and to keep your design consistent across the app.
4. Test the Mobile App
After you finish creating your unique test app, it’s time to test that out. Just be sure it looks and works just like the final version of your app. This step also helps you see exactly how your app will look and perform once it’s published.

Here’s how you can easily test your mobile app:
Go to the App Store
If you have an Android device, open the Google Play Store.
If you have an iPhone (iOS device), open the Apple App Store.
Search for the Mobile App Builder
You’ll need to type the name of the mobile app builder platform you are using, like EzyCourse, Learnworlds, or other platforms, in the search bar. Then, find the official app from the search results.
Download and Install the App
You’ll need to tap on the app and then download and install it on your device. Some platforms can also give you a QR code or a special code that you can scan or enter inside the App Builder app to access your own test app.
Open and Test Your App
After installing the app demo, you should open it up. For that, try to log in if needed and load your demo app. Now, you can walk through your app exactly like a real user would.
Just be sure to check how the screens look, and test the buttons, menus, and links. It also makes sure everything is working the way you want.
Take your time to explore every part of your app. Testing carefully now will help you fix any small problems before your app goes live!
5. Prepare App Submission on iOS and Android

Before your online school app can go live on the Google Play Store or Apple App Store, you will need to set up a few important things. Here's an easy guide to help you get started:
Create a Developer Account
You must have a Google Play Developer Account for Android apps or an Apple Developer Account for iOS apps. It means:
For Google Play, you can create a Google Play Developer Account. It also requires a one-time fee of around $25 for registration.
For the Apple Store, you can sign up for an Apple Developer Account. This account also has an annual fee.
Find Your Account ID
After setting up your developer account, you will get a Google Play Account ID or an Apple Developer Team ID. This ID is also vital to connect to your app. For that, you should note it and later give it to the platform you choose to connect the app to the developer account.
Give Access to the Developer Account
To help you create and set up your app properly, the platform will need access to your developer account. You’ll also have to invite the platform’s team to your account and give it the right permissions.
Don’t worry, you will stay the owner, and nothing will happen to your app. And, you can remove access at any time after the app is published.
Make a Google Service Account
If you are submitting only to Google Play, you also need to make a Google Service Account. This account also allows the platform’s team to update and publish new versions of your mobile app without needing to log in every time. It’s also a safe and easy way to manage app updates.
6. Launch Your Online School App
To launch your app, you first need to check that all the information you have provided is correct. After you review and confirm everything, simply submit your application.
From there, the platform you choose to make the app will handle all the technical parts. It’ll also submit your app for review and publication in the app stores.
Here’s a quick look at the full process:
Double-check your app details like name, logo, and description before you submit it.
Review your app to make sure everything is complete and ready for the next step.
Make sure your app has your courses added so students can find them once the app is live.
Check your app to make sure it follows their rules and standards.
Once the stores approve your app, it will be published and ready for users to download.
Go to your platform’s admin panel and navigate to the mobile app, and launch it.
7. Add Screenshots to Your Online School App
After launching your online school app on the Play Store or App Store, it is right to upload high-quality screenshots. These screenshots will also give learners a clear idea of what your app looks like and how it works, especially your online school elements.
Plus, you should carefully select screenshots that highlight the main traits of your app, like the course catalog, the online classroom, live sessions, progress tracking, and payment options.

Each screenshot should also tell a small story about the benefits of your school app. Here are some things you should consider:
Upload up to 8 screenshots for your app. It is also recommended to use at least 4 to 5 images if possible. With this, you can get more space to showcase different features.
For the Android apps, the screenshot size should be at least 1080 x 1920 pixels in portrait or 1920 x 1080 pixels in landscape.
For the iOS apps, it depends on the devices you are targeting. But a good starting point is 1242 x 2688 pixels for iPhones.
Always make sure your screenshots are sharp, clear, and not blurry.
In short, great screenshots act like a visual sales pitch. They can also directly impact how many people decide to download your app.
8. Set Up In-App Purchases
If you want your learners to buy your courses directly from your mobile app to white-label, it’s ideal to set up in-app purchases properly. This setup also helps your users make payments easily and lets you receive the money without issues. Here’s what you can do:
Add Your Payment Information
First, you can go to the section where you manage payments in your app platform or store account. Plus, it’s better to create a new payment profile if needed. You’ll also need to add your business details and choose a main contact person.
After that, complete your public business information that learners might see. Once all the details are filled in, you can add your payment method, like a bank account or card, and save it.
Create Your In-App Products
Next, you need to go to the part of your app settings where you can manage products or monetization. With that, you can make your in-app products like courses or bundles.

You’ll also need to give each product an ID, add a description, and set a price. After you complete all these details, activate the product so that users can buy it through the app.
Complete the Setup
Finally, make sure your payment profile is active and connected to your developer or merchant account. For that, you can check if your payment details are correct.
Then, return to your app settings and finish the last steps to link your app to the app store. That way, your learners can also find the content to download and purchase easily.
Top 5 Platforms to Build a White Label Online School Platform with App
After knowing how to make a white-label online school with your own app, it’s time to learn about the platform. Let’s find out 5 ideal places to do that:
#1 EzyCourse

EzyCourse is the all-in-one solution if you are looking for a powerful and easy way to build your own online school or coaching business. This platform also offers course creation, white-label options, SCORM, and everything needed to launch teaching aspects.
Plus, you can easily start building with their drag-and-drop course builder. Furthermore, it offers a white-label app option with in-app purchase to save time or effort on creating one.
On top of that, it offers over 20+ different revenue streams that allow you to sell courses, memberships, digital and physical products, and so on.
In fact, you can make bookings, host live chats, publish your content, and organize events all in one place. It also lets you sell courses in bundles or drip and pre-sell them based on your goals.
Top Features of This Platform:
Custom domain setup.
Personalized website footer and course player.
Unlimited students.
White-label email system.
White-label mobile app.
Full branding control (logo, colors, and so on).
Live chat with 1:1 Zoom integration.
Built-in course marketplace for wider reach.
It’s a white label online school platform with white-label features that make it unique apart from other platforms. You can also fully customize the platform to reflect your brand identity, offering your learners a professional and seamless experience.
With marketing tools, mobile app options, and ready-to-use templates to make a course marketplace, it gives you everything to succeed.
Pricing of EzyCourse
Essential Plan: $97 per month or $59 per month on the annual plan.
Pro Plan: $199 per month or $139 per month on the annual plan.
Unlimited Plan: $399 per month or $199 per month on the annual plan.
Elite Plan: $699 per month or $299 per month on the annual plan.
EzyCourse Enterprise: $1,990 per month as starting price.
Mobile Apps: Free with selected plan.

Also Read This: Thinkific Plus vs EzyCourse Unlimited
#2 LearnWorlds
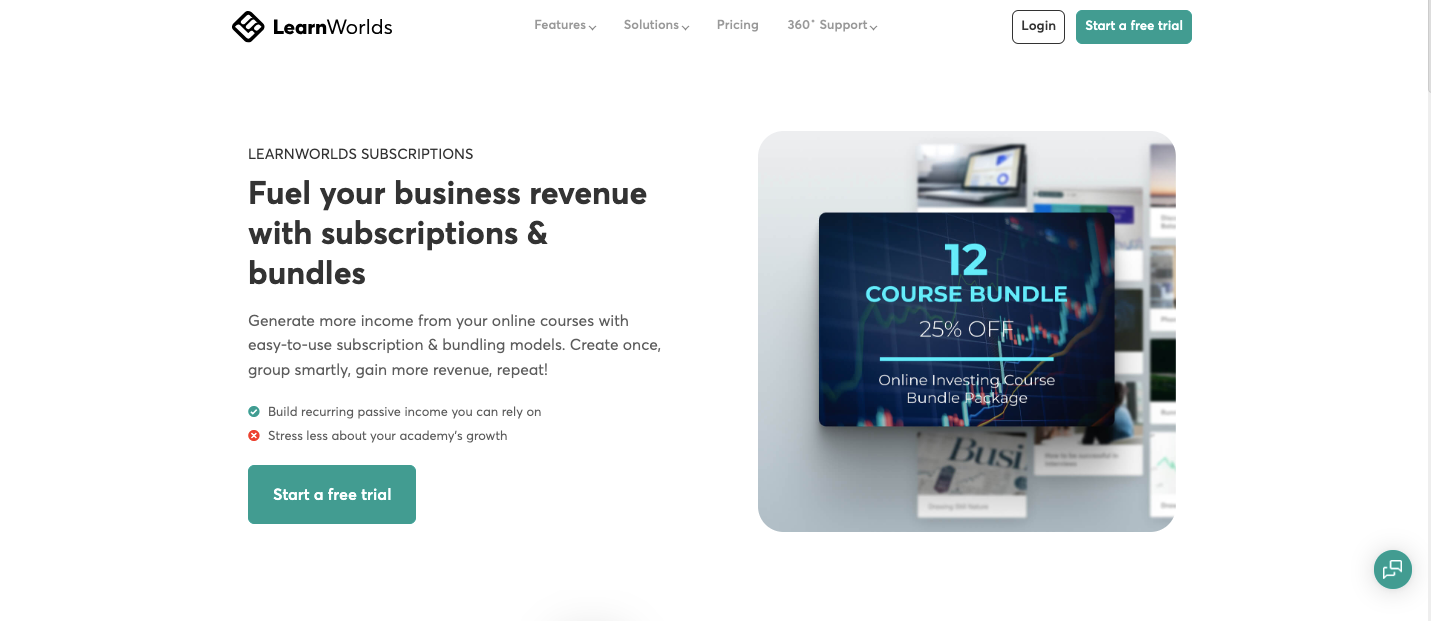
LearnWorlds is a great platform for anyone who wants to create their own white-label online school. It also lets you fully customize your school and build your own mobile app with your branding.
Plus, this platform is perfect for businesses that want everything under their own name. It’s also simple to use but still offers many powerful tools to help you create courses, market them, and engage with your students.
Top Features of This Platform:
Full white-label options like mobile apps.
Easy drag-and-drop course builder.
Built-in video editor and interactive video options.
Advanced quizzes and tests.
Marketing tools like funnels, pop-ups, and discount coupons.
Detailed reports and analytics.
Supports SCORM and HTML5 files.
Many payment gateway options.

Besides, you can create interactive courses, add quizzes, give certificates, and design beautiful landing pages without needing to know coding.
Plus, you can make use of a mobile app builder to create a white label online school in app format. This also lets you give your learners a mobile-friendly interface to do courses. However, it lacks email marketing options. If that’s an issue to you, better go for its alternative.
You can also connect different payment systems and track your business growth with detailed reports. Moreover, the support is fast and very helpful when building your online school.
Pricing of LearnWorlds

Starter Plan: $29 per month or $24 per month on the annual plan.
Pro Trainer Plan: $99 per month or $79 per month on the annual plan.
Learning Center: $299 per month or $249 per month on the annual plan.
High Volume & Corporate Plan: Personalized pricing plan.
Also Read This: LearnWorlds Corporate vs EzyCourse Unlimited
#3 Teachable
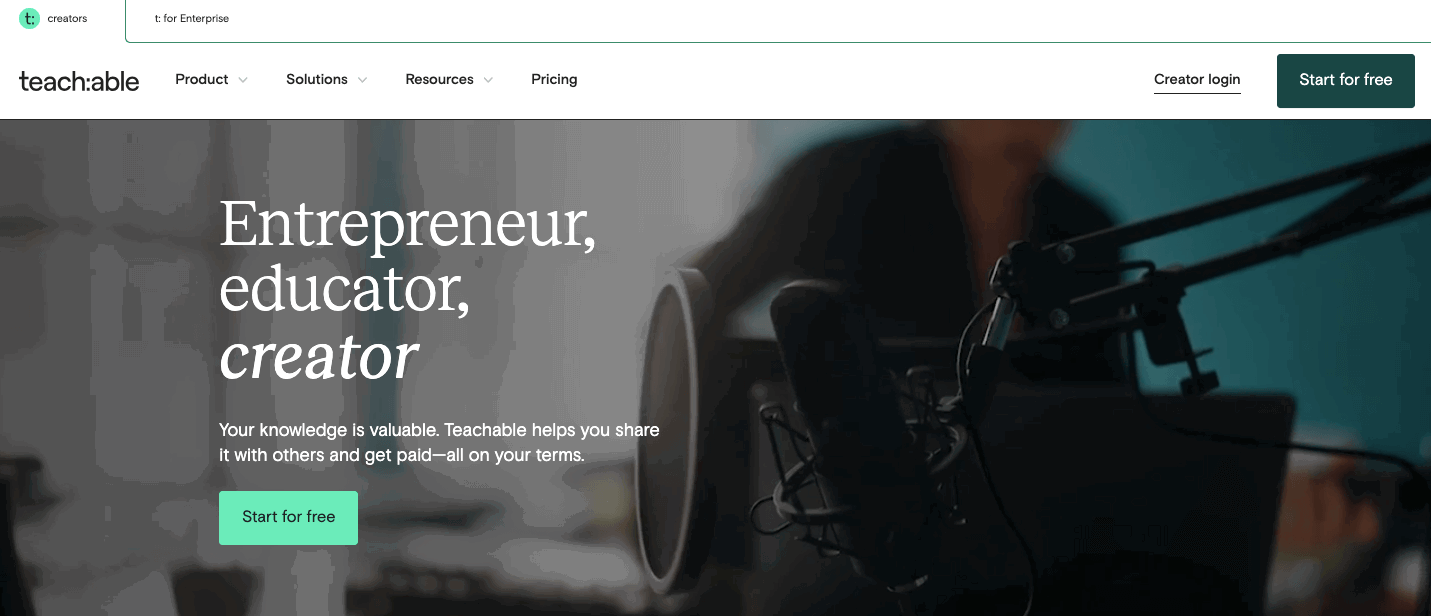
Teachable is a decent platform for creating online courses, and it stands out when you're looking to build a white-label online school.
It also allows creators to launch their own branded app-based school without needing deep technical skills. Besides, the setup is simple, and you’ll find the interface clean. It also makes it easy for both creators and students to navigate.
Top Features of This Platform:
Custom mobile app with branding option for your school.
Drag-and-drop course builder.
Integrated payment gateways like PayPal and Stripe.
Options for upsells, bundles, and memberships.
Student progress tracking and analytics.
Built-in marketing tools, coupons, and affiliate plans.
Its white-label capabilities also let you remove branding completely and present your school as your own brand. With this, you can get full ownership of the student experience.

The mobile app option is mainly impressive as it lets you have your own school app on iOS and Android. However, it might cost more to have white-label benefits on the app. If that’s a big no to you, it’s better to go for other options.
In terms of pricing, this platform is quite fair considering the range of services added. However, advanced white-label options and mobile apps are available only on higher-tier plans. So, it's good to plan accordingly if scaling is in your goals.
Pricing of Teachable

Basic Plan: $59 per month or $39 per month on the annual plan.
Pro Plan: $159 per month or $119 per month on the annual plan.
Pro+ Plan: $249 per month or $199 per month on the annual plan.
Also Read This: Thinkific vs Teachable
#4 Kajabi
Kajabi is a strong platform that makes it easy for creators, coaches, and teachers to build their own online schools. Plus, you can even white-label it to fully match your brand.
Not to mention that it offers everything under one roof! Like, you can get site building, course creation, marketing tools, and app-based access with this platform.
Top Features of This Platform:
Easy drag-and-drop course builder.
Full white-labeling options with no Kajabi logos.
Built-in email marketing and automation tools.
A customizable mobile app for student access.
In-depth analytics to track sales and engagement.
Strong community support and training resources.
You also don’t need to manage different plugins or worry about tech issues since it's all ready-made to use. Besides, this platform allows you to launch your online academy with a polished website and a professional app that feels like it’s 100% yours.

However, it can be on the pricier side compared to some alternatives. In that case, you can look for other options to find affordable plans.
But if your goal is to offer a premium learning experience with full branding control and minimum hassle, it’s a worthy choice.
Pricing of Kajabi

Creator Plan: $99 for 3 months (after the period, the other plans unlock).
Kickstarter Plan: $89 per month on the annual plan.
Basic Plan: $149 per month on the annual plan.
Growth Plan: $199 per month on the annual plan.
Pro Plan: $399 per month on the annual plan.
Also Read This: Kajabi vs Thinkific
#5 Thinkific
Thinkific is a good choice for anyone aiming to build a white-label online school with their own branded app. It also offers a clean interface for beginners to make professional online courses without dealing with heavy tech work.
No matter if you're a coach, educator, or entrepreneur, this platform gives you full control over your branding, content, and the overall student experience.
Top Features of This Platform:
Full white-labeling with custom mobile apps for iOS and Android.
Built-in community, memberships, and live lessons.
Advanced analytics and progress tracking.
Multiple payment gateways like Stripe and PayPal.
Marketing tools like coupons, bundles, and upsells.
Third-party integrations with Zapier, Mailchimp, and Salesforce.
Multi-language support for global audiences.
Custom domains and landing pages.
The flexibility of this platform also seems excellent when designing your online presence. In fact, you can easily create free or paid courses, memberships, or coaching plans.

With that, the mobile app seems great to allow your students to see your content and download files. Plus, the platform’s white-label option lets your brand take full center stage without showing any Thinkific logos.
Even if its pricing leans towards the higher side, it offers fewer options in the mobile app and customization. If that seems a serious hitch to you, it’s ideal to go with other platforms. Overall, Thinkific is a reliable solution for building an easy yet effective online learning business.
Pricing of Thinkific

Basic Plan: $49 per month or $36 per month on the annual plan.
Start Plan: $99 per month or $74 per month on the annual plan.
Grow Plan: $199 per month or $149 per month on the annual plan.
Thinkific+ Plan: Personalized pricing plan.
Also Read This: 20 Successful Thinkific Membership Site Examples with Marketing Strategy
What Is the Best White Label Online School Platform?
That’s how you can make a white label online school platform using your own app! Yeah, it’s a long process to do that if you are not using a platform that does things for you.
However, if you think you can’t do all these tasks and need expert help to do them, the ideal place to do it is EzyCourse. It also gives you all you need to make a white-label online school via a mobile app. For that, they take a yearly or monthly pricing range with installment options.
Are you ready to make your own white-label online school with your own app? Try out our 14-day free trial and decide for yourself!